ViVi Robot
ViVi Robot is a smart WiFi-controled Robot, and developed by DOIT China, in Shenzhen.
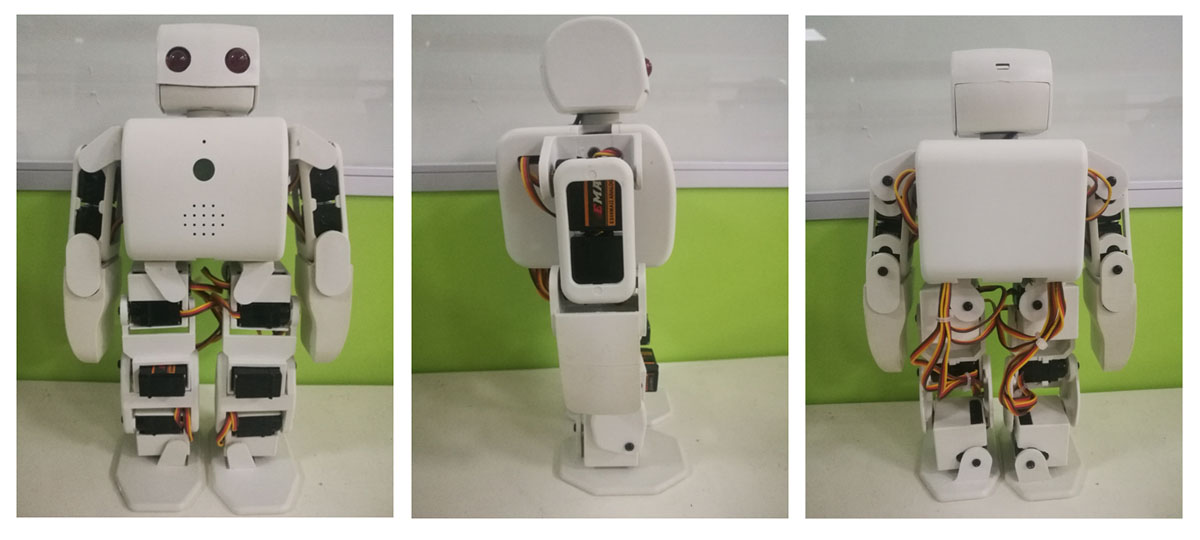
- Coarse debugging
Based on the above installation, we have this coarse debugging. In this step, the key is that the control board must be on power during the whole installation, till the end. It aims to let the servo at the initial state set by the program built-in the control board. So, after installation, the robot would be at the initial state set by the robot.
- subtle debugging
After the Coarse debugging, in order to let the robot finish some operations, we must do some subtle debugging by the following effects.
- the two toes of the robot are on one line;
- the two heels of the robot are on one line;
- two footpads of the robot are on a plane;
- the standing posture of the robot should be like a trained soldier, which is vertical and horizontal.
- With ESP8266 inside, support STA+AP mode, 4MB flash size, utilizing SPIFFS
- Controllable with WiFi
- Provide App for both Android and iOS devices
- Lowcost
- Open source (App excluded), fit for Geeker
- Officail site: click me to buy
-
Installation, Usage, and Debug Manual for vivi robot: download
-
user manual for vivi robot control board: pdf
-
Manuals for Assemblling and Debugging: Click to download
-
Firmwares:
-
Some useful tools and source code can be downloaded here: http://en.doit.am/ViVI.zip
-
Download and install ViVi Robot App
- Android version
- https://play.google.com/store/apps/details?id=jp.doit.scenography&hl=zh_CN
- https://www.pgyer.com/qIYq
- iOS version
- https://itunes.apple.com/us/app/vivi-robot/id1255421040?l=zh&ls=1&mt=8
- Note: Please update your iOS system to the latest version, when using iOS App. About the vivi robot, please visit: http://plen.jp/playground/wiki/tutorials/index.html.
The Robot works as AP mode. When ViVi Robot powers up, then wait for about 5 seconds, please connect the WiFi signal named as "ViVi-xxxx", and then open the installed robot App.

After install Robot AP successfully, then please run the App to connect with the robot by clicking the “connect robot” button on App.

After the robot is connected successfully, you can go to the controlling/programming page on App to interact with the robot.
The following video shows how robot works:
http://v.youku.com/v_show/id_XMjc2OTA5MTk3Mg==.html?spm=a2h0k.8191407.0.0&from=s1.8-1-1.2
http://v.youku.com/v_show/id_XMjc2OTA5MTY0OA==.html?spm=a2h0k.8191407.0.0&from=s1.8-1-1.2
http://v.youku.com/v_show/id_XMjc2OTA5MDkwOA==.html?spm=a2hzp.8253869.0.0